Dingo F207134 Restoration
This Car was Purchased by Michael McNeill in 1998 to become a tribute to his father and his driver who served in Dingo’s with the 2nd household Cavalry (XXX Corps) during WW2.
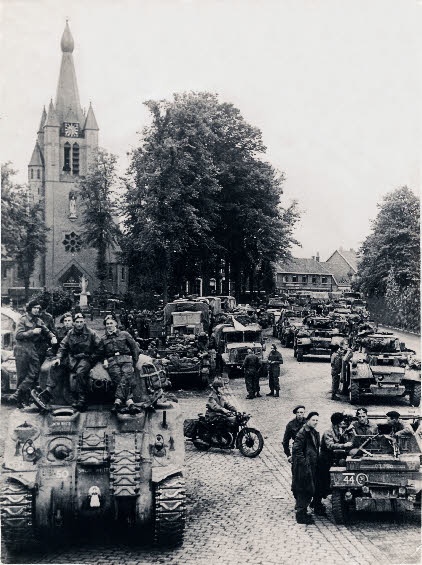
Mike is lucky to have a photo of his father (circled below) passing through Valkensward, Holland on the 18th September 1944 during Operation Market Garden.
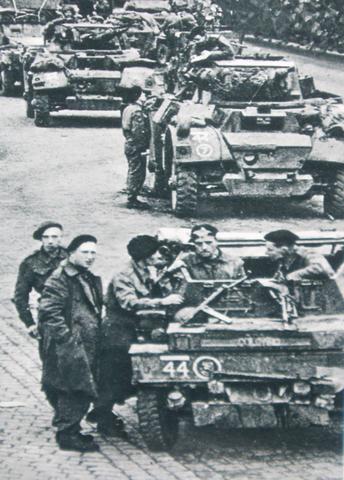
Waiting to resume the advance northwards from Valkenswaard.
M.Q.M.C Thomson, facing camera on left of the 44 recce sign, can be seen speaking to the driver, Trooper Reginald Holmes.
Scout car commander, Corporal. "Mac" Mc Neill, is the lead scout car from 2 Troop, C Squadron.
Within 48 hours the day ended in tragedy when British tanks mistakenly fired on them and Trooper Holmes was killed.
The Daimler Fighting Vehicles Project
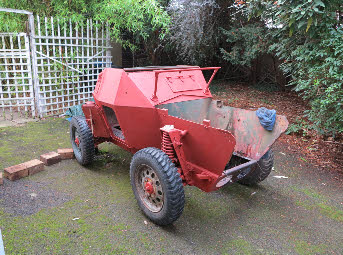
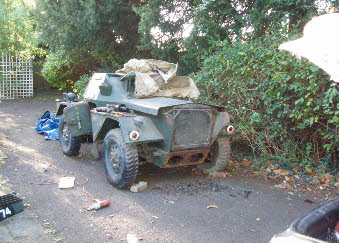
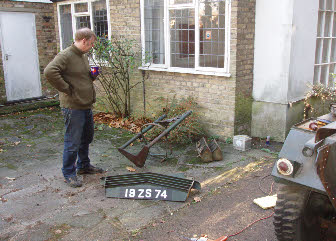
F207134 (19ZS74) Dingo Restoration Project


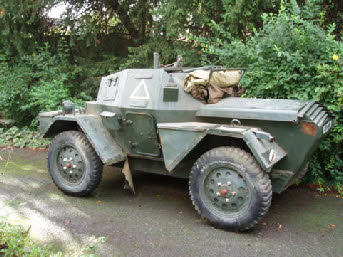
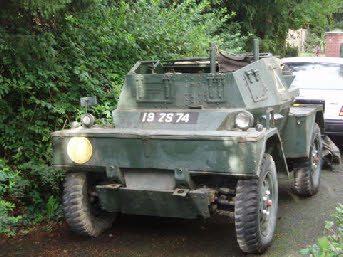


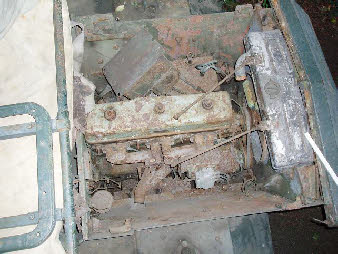
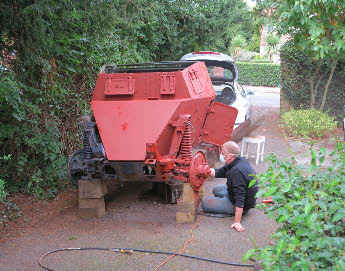
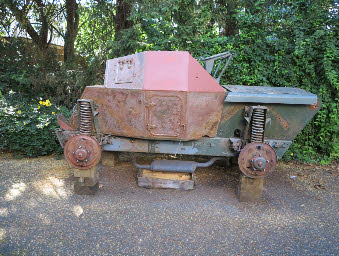
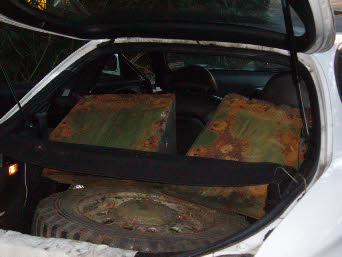
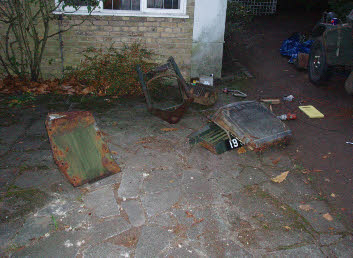
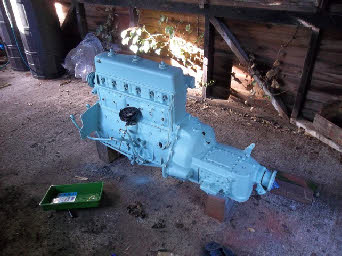
The car as found was not running and in poor condition, it had obviously sat in the open for many years and the external stowage boxes has all lost there bottoms due to rust. Every nook and cranny was fall of conifer bush leaves and there were enough spiders to keep a zoologist busy for a few weeks.
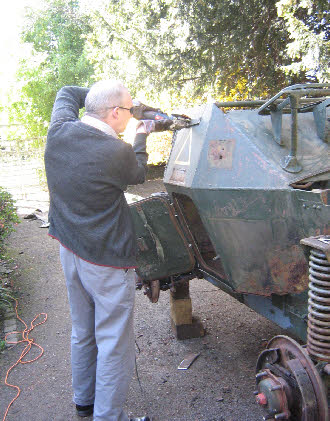
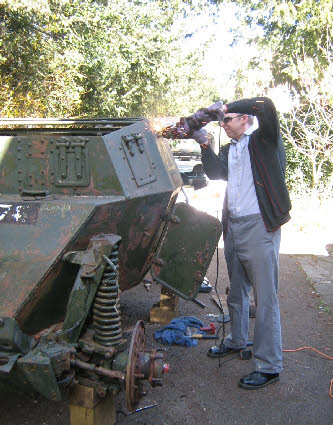
Mac wields the disk cutter to remove the mounts for the 1950’s style smoke dischargers.
These had already disappeared when he had purchase the vehicle.
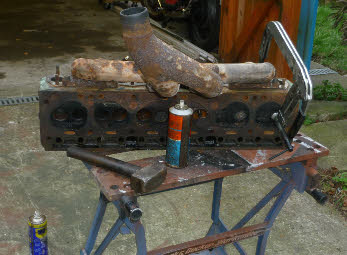
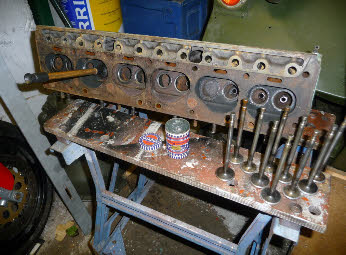
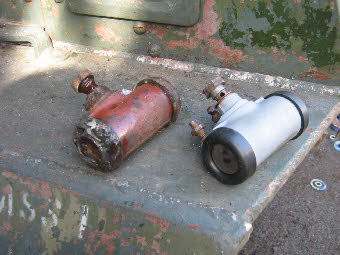
Back in my workshop I have removed the cylinder head and other small parts for refurbishment. The valves were removed and reground by hand. Some valves were replaced (if pitted) and new retaining springs were fabricated in spring steel, where they were missing. The brake cylinders were cleaned and the bores were found to be serviceable. New seals were fitted and refurbished the parts set aside ready for reassembly.
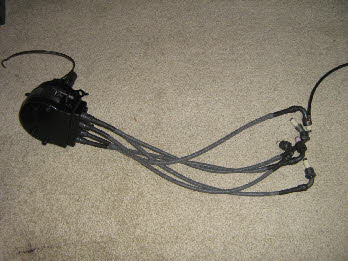
The carb was stripped and cleaned to remove the accumulated petrol glazing that had blocked the jets and filled the float bowl. The carb was tested by fitting it to my dingo and running it up. The distributor was fully dissembled, cleaned, painted and refurbished with brand new leads that I manufactured from new HT lead, head shrink tubing and polypropylene braiding. A new condenser was also fitted.
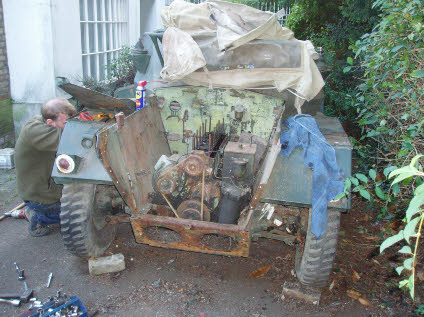
Prior to engine removal I wanted to ensure that it would run properly. The head was reinstated with new David Beales Head gasket. A temporary Ignition circuit provided , the fuel pump refurbished with new diaphragm, a temporary coil provided, oils checked........
And the engine fired up,
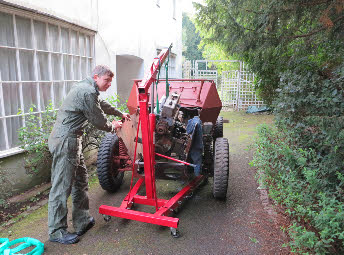
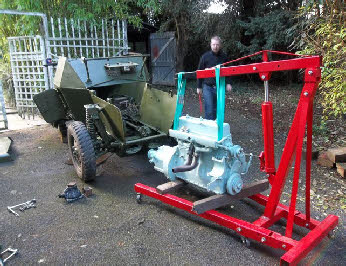
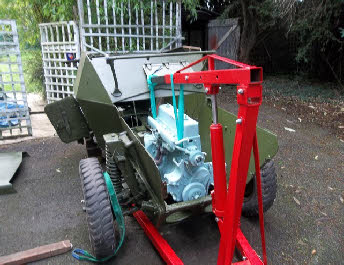
After the engine was proven to be properly functioning it was removed from the car for further inspection, adjustment, cleaning and painting. We were assisted in the lifting operation by Henry in his denim tankers outfit, which he was wearing in order to get some ‘genuine dirt and grime on - Cause they are far too clean.


One running, all gears were selected and transfer box tried in both directions. All engaged without problem.
Oil pressure came up to 55lb per Square inch, which is about right for a cold dingo.
And we sang ‘The wheels on the bus go round and round, round and round.’ (possibly ......we were happy)
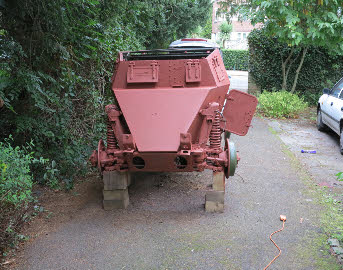
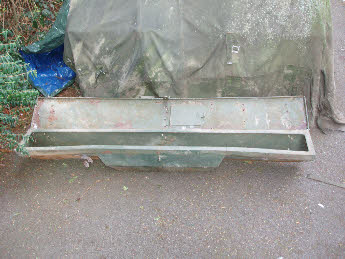
The front bin has been badly crushed out of shape and the top was rusted through in several places, a new top and front is to be fabricated from sheet steel and welded into position (more photo’s to follow)
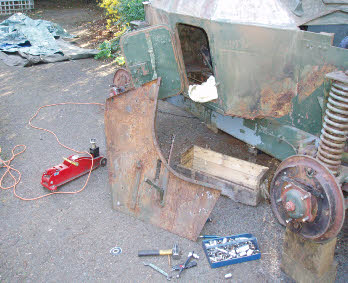
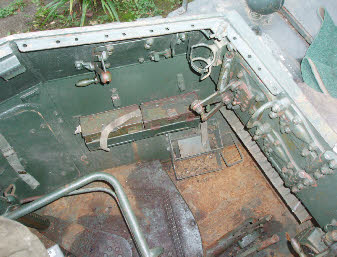
As the car the floor panels are removed, they are dissembled and sent away for grit blasting. Then repaired where necessary, primed in red oxide and painted. To remove the floor most of the original bolts/screws had to be cut out, the remaining shanks were then drilled and removed with an easy out tool.
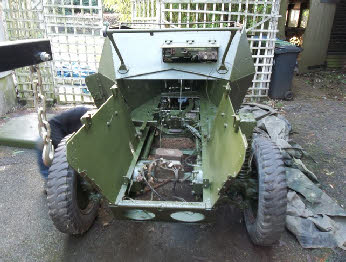
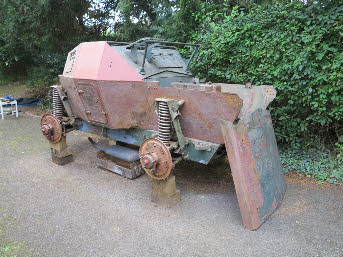
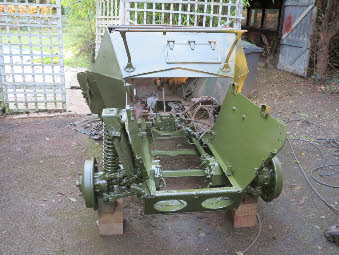
Rust and other corrosion on the lower hull was limited and so it was decided that it would not be necessary to remove the hull from the chassis. However every square inch of the car was attacked with wire brushes or chisels to remove the existing paint down to base metal. This is surprisingly easy on the flat plate but very tedious on the wheel stations. Once clean everything was washed with strong degreasing agents and then coated with two layers of Fertan anti rust treatment .
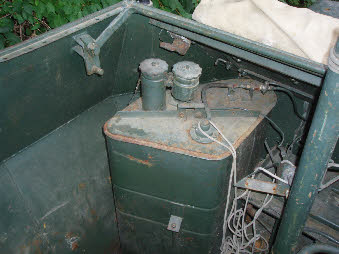
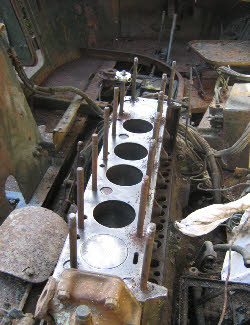
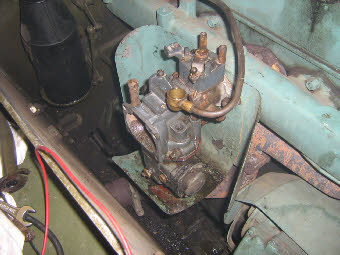
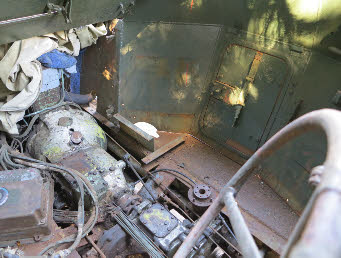
Inspection revealed that the engine had been partially dismantled. But the crank turned with ease and no knocking could be heard, or tight spots felt, suggesting that the crank was still sound. There was a lot of clean oil in the tank and it was suspected that the engine had ‘wet sumped’ and then been overfilled.
On inspection upon cleaning the bores and piston looked good and upon measurement showed them to be still serviceable and with standard bore. This was a relief because with the head being loose when found, I thought the bore were going to be a nightmare of red oxide and pitting.
The disassembly of all fittings commenced, rear armour, wings, floor pan and other hull fitting were removed for grit blasting and repair. Almost all of the original domed headed flat slotted screws were truly rusted solid. After soaking in penetrating oil, heating with a blow lamp and application of brute force approximately half were extracted. The others were drilled out - which is not an easy or quick task when dealing with hardened steel bolts.
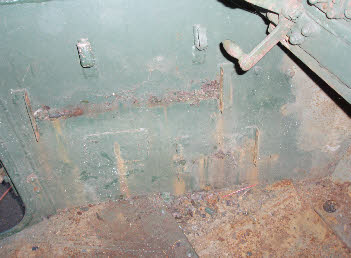
The armoured plates below the floor was badly rusted where water has been trapped between the two surfaces , some welding would be required to repair the thinner upper floor panels.
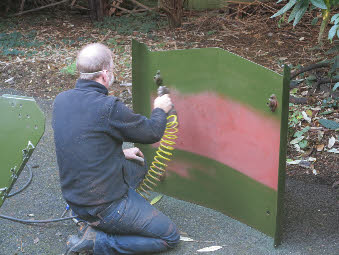
Fetran is self priming, but to make sure of a good paint base, everything was coated in a layer or two of red oxide, ready for application of the green top coats.
Once the engine is removed this provides reasonably good access to the bits of lower hull and chassis that were otherwise inaccessible, Yet more scrapping and cleaning ensued........
To relieve the boredom of cleaning we started to apply the BS298 top coats to the exterior metal work that had previously been prepared. The paint is fast air dry- eggshell finish - semi gloss by Cromadex and has the benefit of being touch dry in approx 10 minutes.
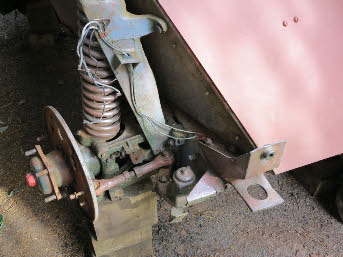
Improved access also allowed a good inspection of the prop shafts and bevel boxes, the lubricants were changed and prop shafts greased while they are easy to get at.
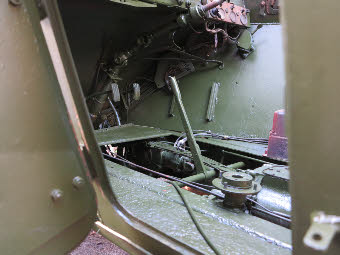
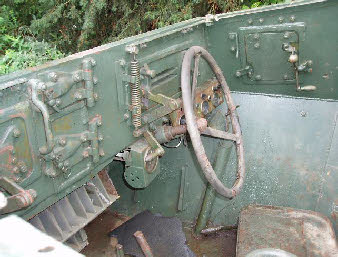
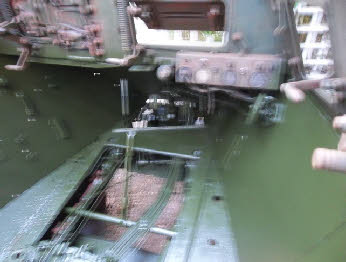
The steel floor plate around the drivers control panels was fixed by numerous engineering screws that had all become seized and had lost the flat screwdriver slots due to rust. Again these had to be carefully drilled out and then the remaining holes re tapped with an a appropriate thread. This was a long and time consuming task due to the limited space in which to work.
MORE TOO FOLLOW:
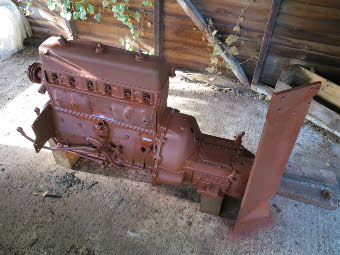
Engine is cleaned, primed and painted
Rear engine bay plus other assorted items are cleaned, primed and painted


Engine is lifted back into the hull.